


 Home >
 Knowledge Base >
 Community >
 Downloads >
Connecting to the PDMM for the First Time (PDMM IP Address Settings)
Connecting to the PDMM
When connecting to a device for the first time, it is often confusing how to set up the initial communications. Well, the PDMM and the IDE software for KAS make this task relatively simple. There is nothing difficult about it once you know where to start.
1. Rotary Switch
Start with a pre-configured static IP address using the rotary switch (S1) positions 2 through 9. These give IP addresses of 192.168.0.(100+S1). So for switch position 3, the IP address is 192.168.0.103.
2. Network Settings
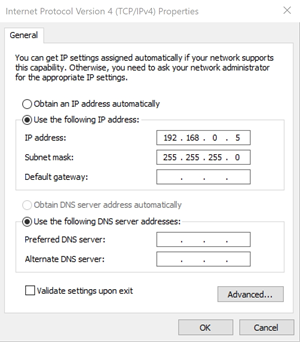
Set the network connection on the PC to static IP ("Use the following IP address" in the Windows network settings). And set the IP address to 192.168.0.X, where X is any unique address on the local network. To access these settings, open the Control Panel and go to "Network and Sharing Center" (or open Settings and go to "Network and Internet" in Windows 10). Drill down to the Internet Protocol Version 4 of the correct network adapter and click Properties.
For example, I chose the following settings:
PDMM rotary switch = 2....giving IP address 192.168.0.102
PC IP address = 192.168.0.5
3. Create a Project
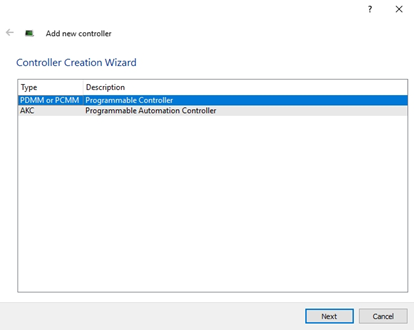
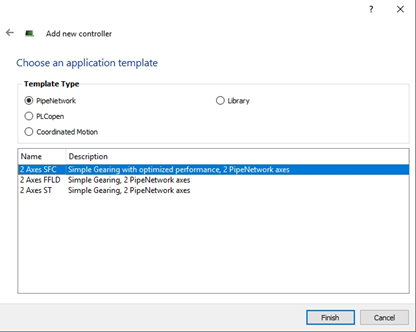
Open the IDE software for KAS and create a new project.
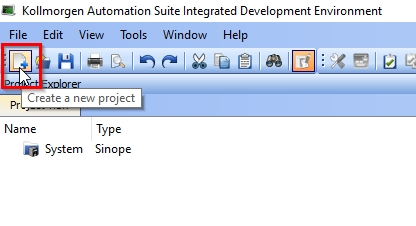
Follow the steps for creating the new project with the options you want. You can change the programming language later if you need to.
4. Edit the IP Address
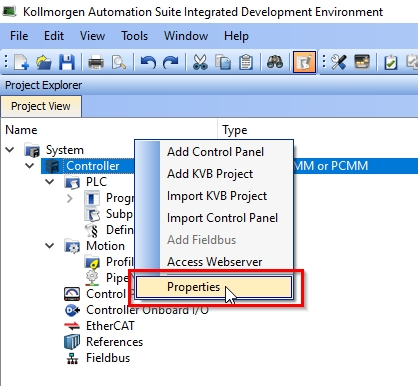
Right-click on "Controller" and select Properties. This is where you enter the IP address that is defined by the rotary switch. (I chose switch position 2 for IP address = 192.168.0.102.)
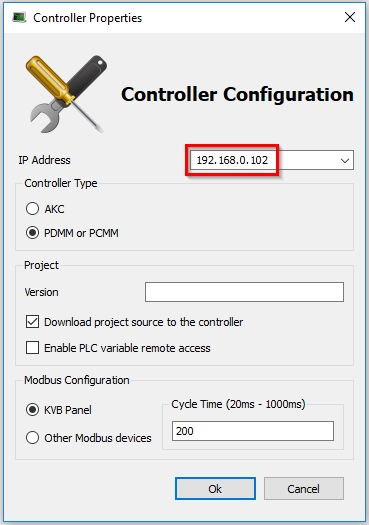
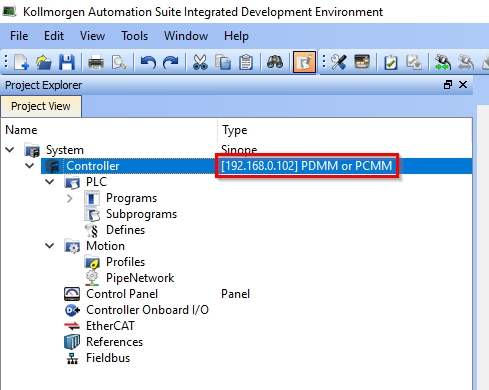
You will now see the correct IP address entered for the controller.
5. Connect to the PDMM
Click the Connect button on the toolbar.

Once it connects, you will see the green "Connected" status in the status bar at the bottom of the software.

You are now connected to the PDMM and you can start programming the controller. I won't get into the programming in this article, but we will change to IP address to use a static address that is completely custom.
Changing the PDMM's IP Address
To change the PDMM's IP address to a completely custom address, you must first access the webserver. Position #1 of the rotary switch allows the PDMM to use the custom static IP address defined in the webserver.
1. Webserver
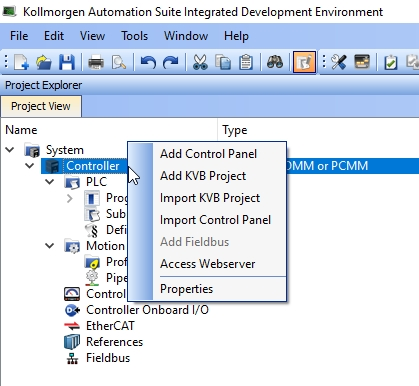
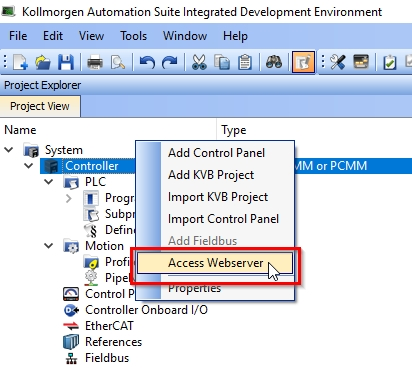
Right-click on "Controller" and select Access Webserver.
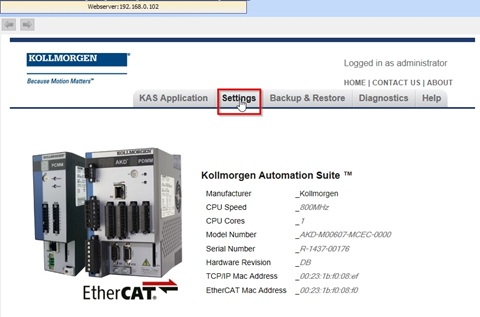
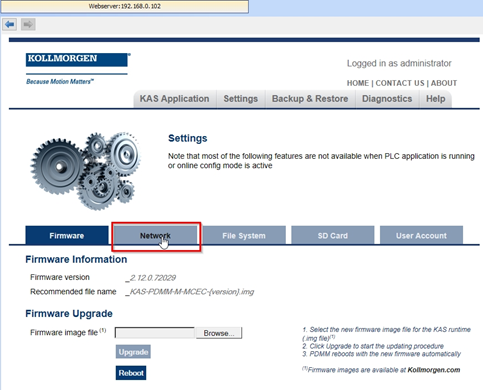
When the IDE connects to the webserver in the PDMM, click the tab for Settings and the tab for Network.
2. Change the IP Address
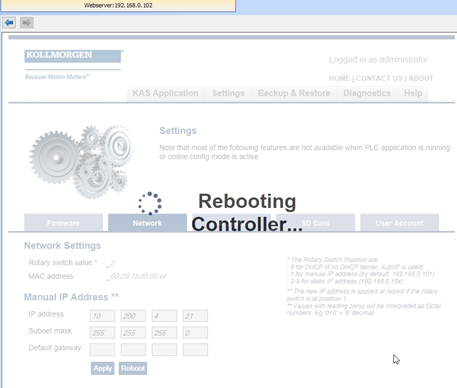
In the Network tab of the webserver, enter whatever IP address you want. I chose 10.200.4.21.
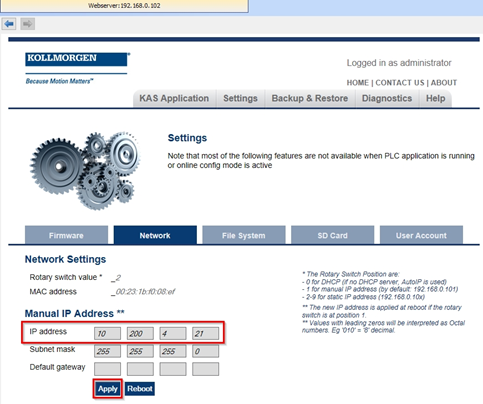
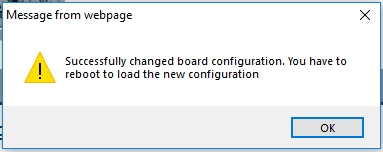
After typing in the new IP address click "Apply".
The new IP address will only take effect after setting the rotary switch to position #1 and rebooting the PDMM.
3. Rotary Switch
Turn the rotary switch to position #1. And then either click the Reboot button or power cycle the PDMM.

4. Network Settings
Change the IP Address of your PC in the Network settings to be on the same subnet as the new PDMM IP address. I used 10.200.4.1 for the PC to correspond with the 10.200.4.21 of the PDMM, assuming a subnet mask of 255.255.255.0.
(Subnet Mask=255.255.255.0 ... means, comparing the two IP addresses, the first three octets must be the same and the last octet must be different).

5. Edit the Controller Properties
Set the new PDMM IP address in the Controller Properties in the IDE.

6. Connect to the PDMM
Click the connect button on the toolbar to connect to the PDMM, and notice the connection status.


Accessing the PDMM's Webserver without Using the KAS IDE Software
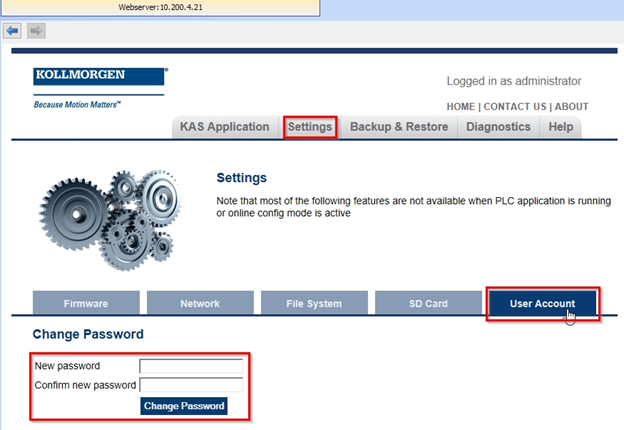
You can access the PDMM's webserver using any web browser if you know the IP address of the PDMM. When not logged in, most of the settings are locked out. Logging in allows access to the webserver settings and controls via any web browser on the local network. The Username is "administrator" and the default password is also "administrator". It is recommended to change the password to limit access only to authorized personnel.
1. Change Password
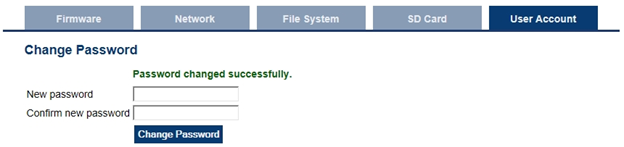
Click on the User Account tab under Webserver settings in the IDE. Enter a new password and click the Change Password button.
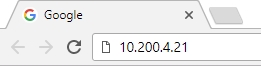
2. Web Browser
Open a web browser and type the IP address of the PDMM into the address bar. I use Chrome, but other browsers work as well.
3. Login
Click the Login link and enter the new password.
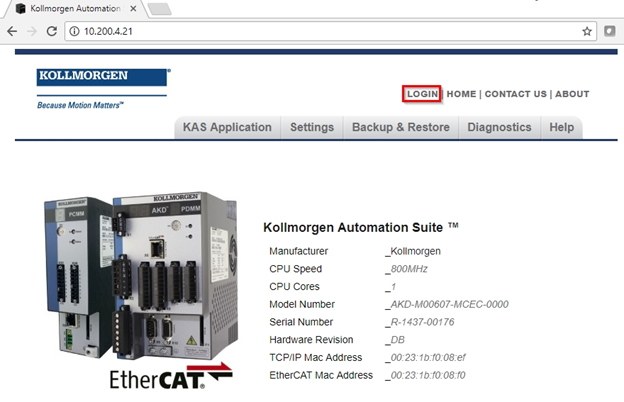

You now have complete access to the PDMM's Webserver settings and controls through your web browser. So you can update firmware or change the IP address, etc. without using the KAS IDE software.
Back to top